Scroll down to continue...
Best viewed
on a desktop
Putting a Brain in a Plane
By Jonny Barker
I am making a brain for my model plane so that it can fly by itself. I could have bought an off-the-shelf kit but I wanted to build it myself to understand how everything works from the ground up.
The ‘brain’ of my plane has a number of key parts, but at its core is an ARM microcontroller. These chips are ubiquitous, and power everything from iPads to dishwashers. My version might not be powerful enough to run Angry Birds, but it would be plenty fast enough to fly a plane.
Planes have three different movable wing sections called control surfaces. These allow the plane to roll, pitch and yaw.
On a real plane these control surfaces are moved by large hydraulic pistons connected to the pilot's control stick.
A model plane uses tiny motorised boxes called 'servos' to move these control surfaces.
Step one in programming my plane was to get the brain to control these servos.
The plane will need to be able to adjust the control surfaces as it flies, to stay level. I needed to add sensors to the brain so that it could determine which way is up, and fly accordingly.
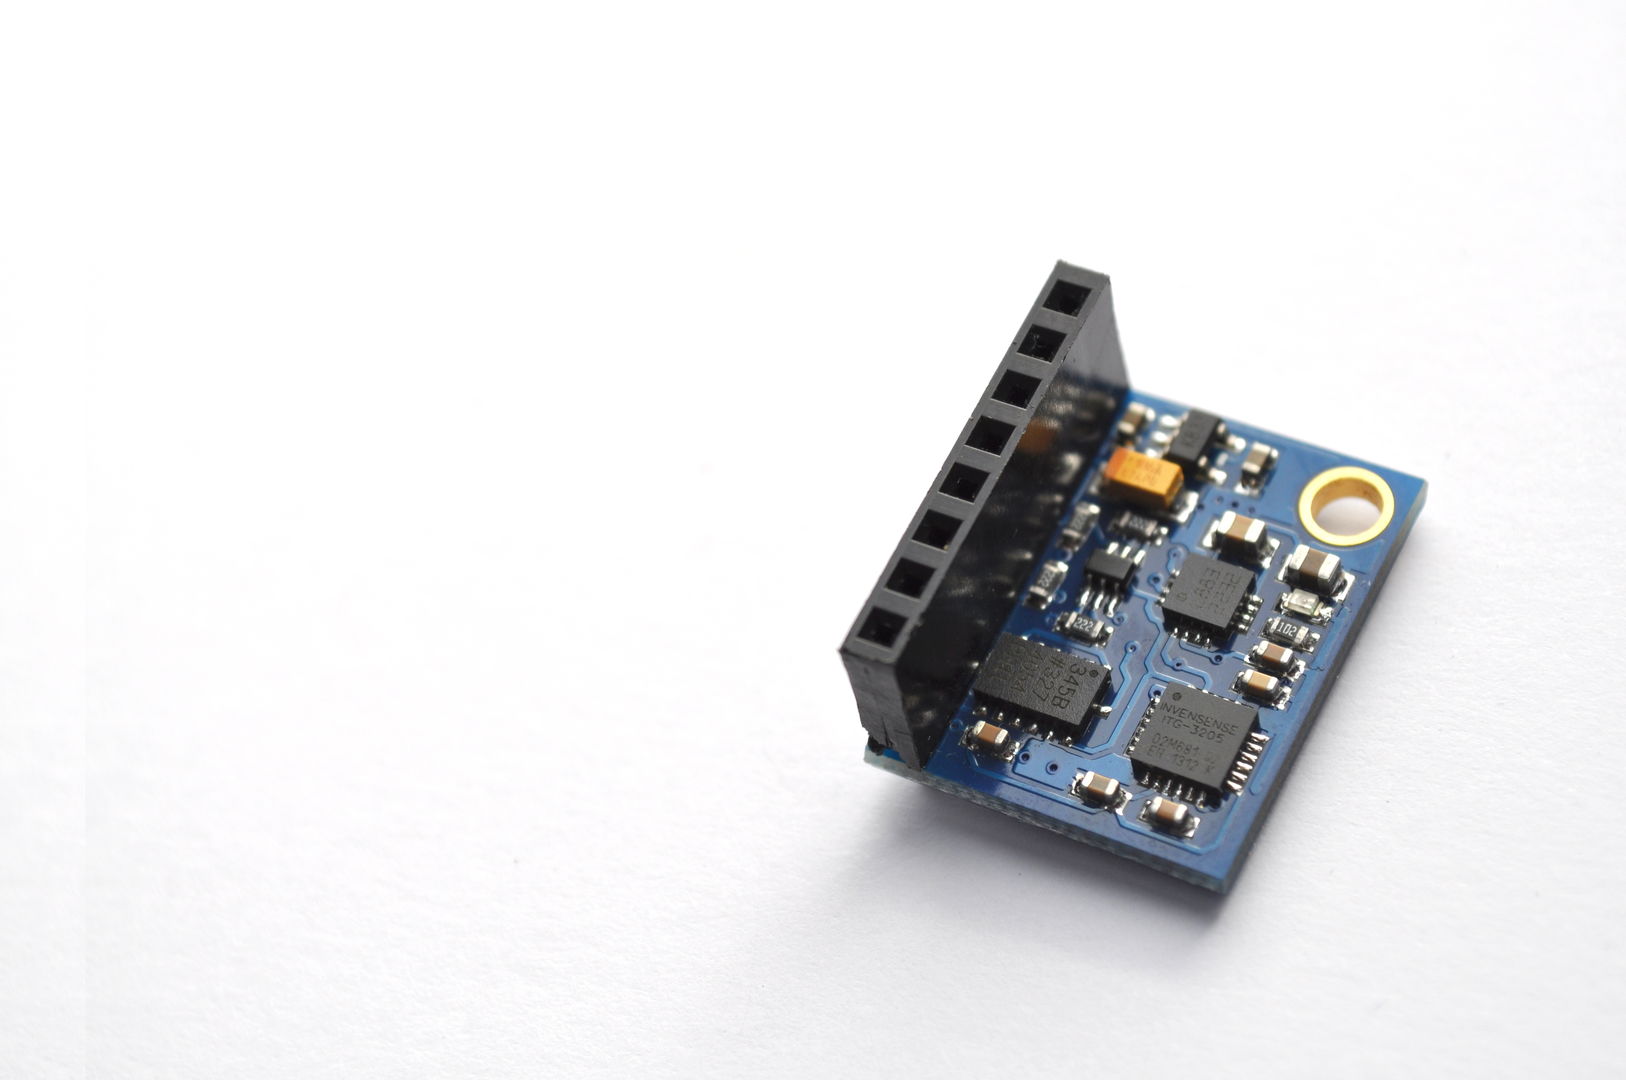
I bought an Inertial Managemement Unit (IMU) board off eBay. This tiny module included a 3D accelerometer, magnetometer and gyroscope.
The 3D gyroscope senses rotation and allows you to track which way you are pointing.
A combination of the gyroscope, magnetometer and accelerometer signals is more accurate than the gyroscope alone. An algorithm in the brain takes the signals and adjusts the servos to stabilise the plane.
Whilst the plane would be autonomous, it wouldn't dream up things to do by itself - I needed a way to send commands to it. Adding a radio system would allow me to control it from the ground, like a normal radio-controlled plane. Later I could use it to send more general instructions such as 'go to this location', 'take a photo' or 'time to land!'.
I bought two radio modules off eBay, and spent many hours poring over badly-written Chinese datasheets and wrestling with code trying to get them to work. Eventually I figured it out, and designed a simple protocol to allow me to send commands to the plane.
Take a Cubieboard, a second radio module and a PlayStation controller, and you’ve got yourself a rudimentary transmitter.
I’d worked out the basics of the brain, and had a proof of concept twitching on my desk. But there’s a difference between building something that works, and building something that is compact and lightweight enough to fit in a plane. I’d need something much smaller and more robust.
It was time to design a printed circuit board (PCB).
A PCB is a wafer of fibreglass with copper traces on it, onto which the chips and other components can be soldered. The traces carry power and signals between the chips, and to connectors which bring together the servos and radio modules.
PCB design is quite fun. You start off by placing the ‘footprints’ of each of the chips, and then draw in all the connections.
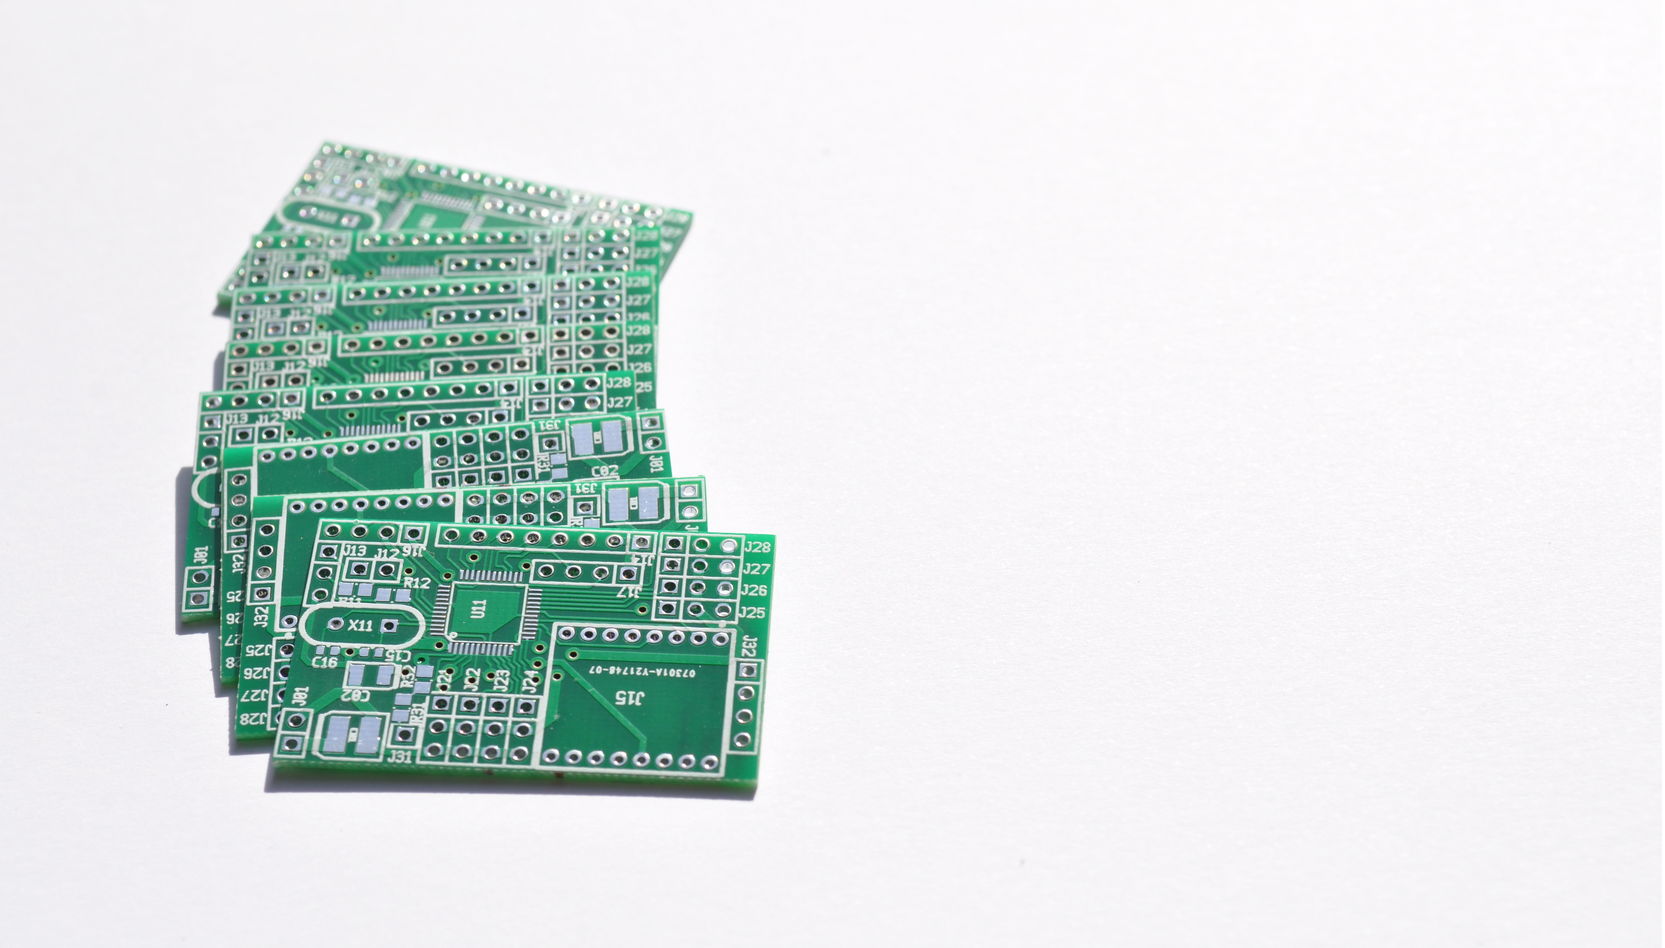
I sent the design off to be made, and two weeks later a parcel from Shenzhen arrived, with ten perfect and identical PCBs in it. Beautiful. Time to attach all the components.
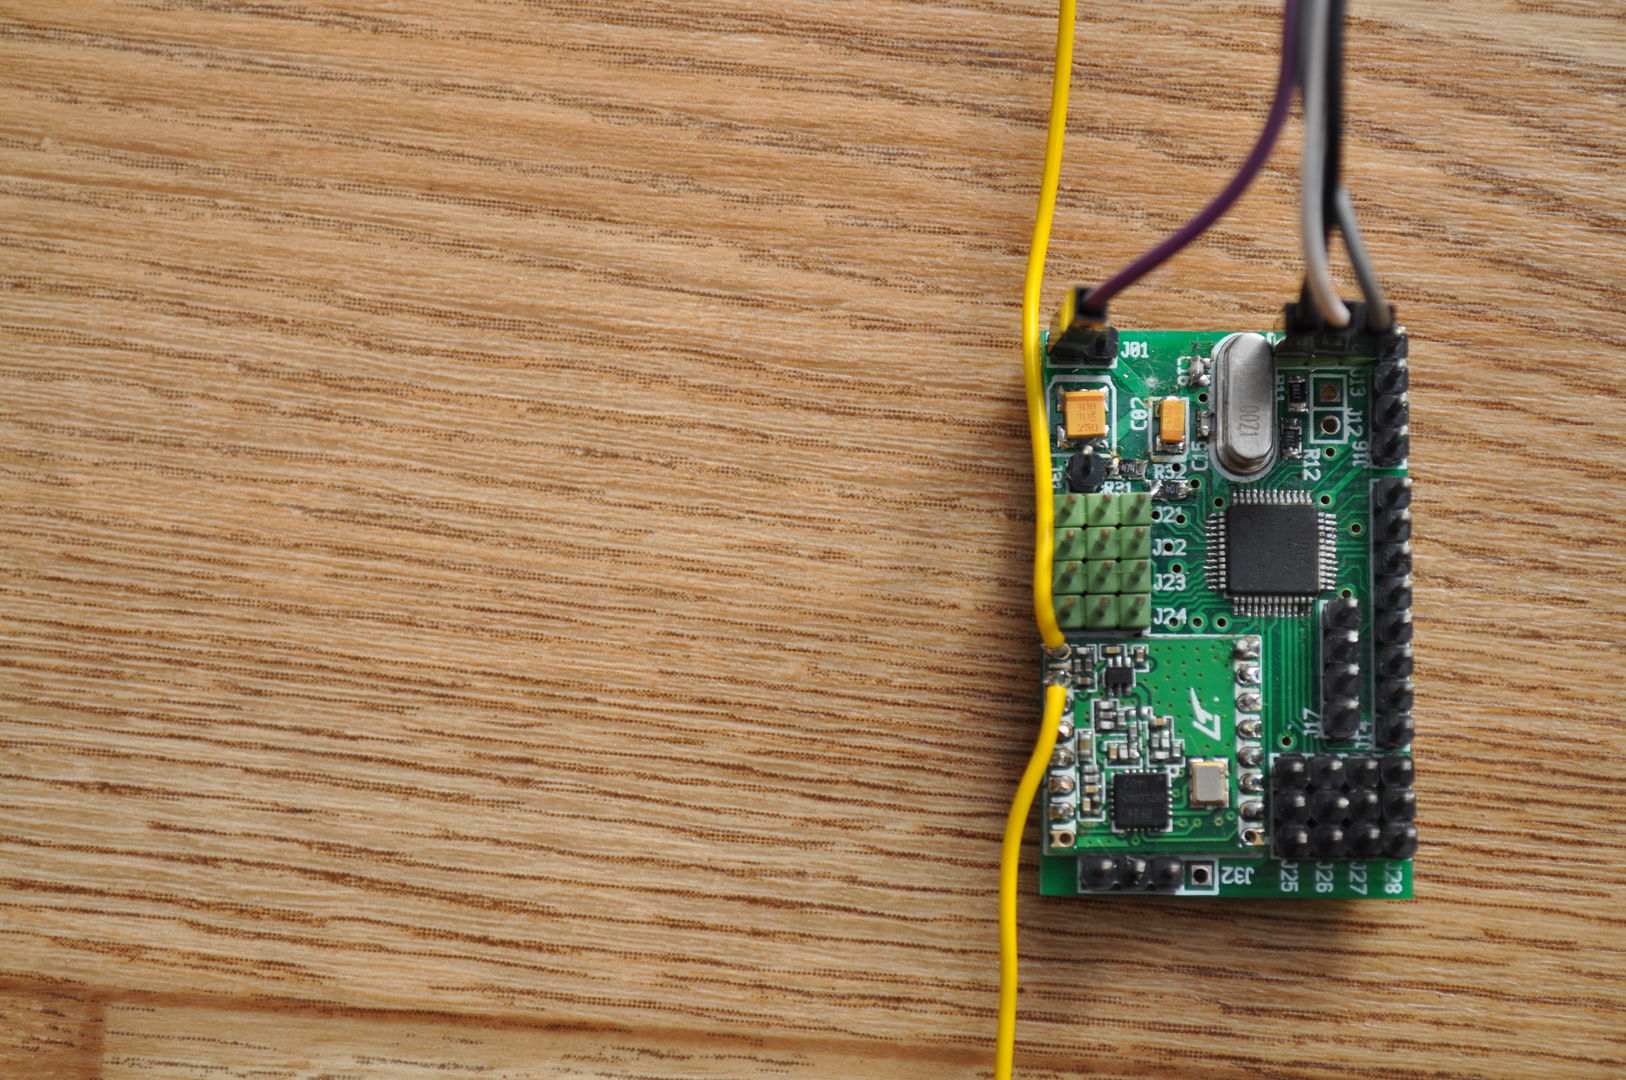
The assembly was the fiddly bit – I needed a magnifying glass to solder some of the components.
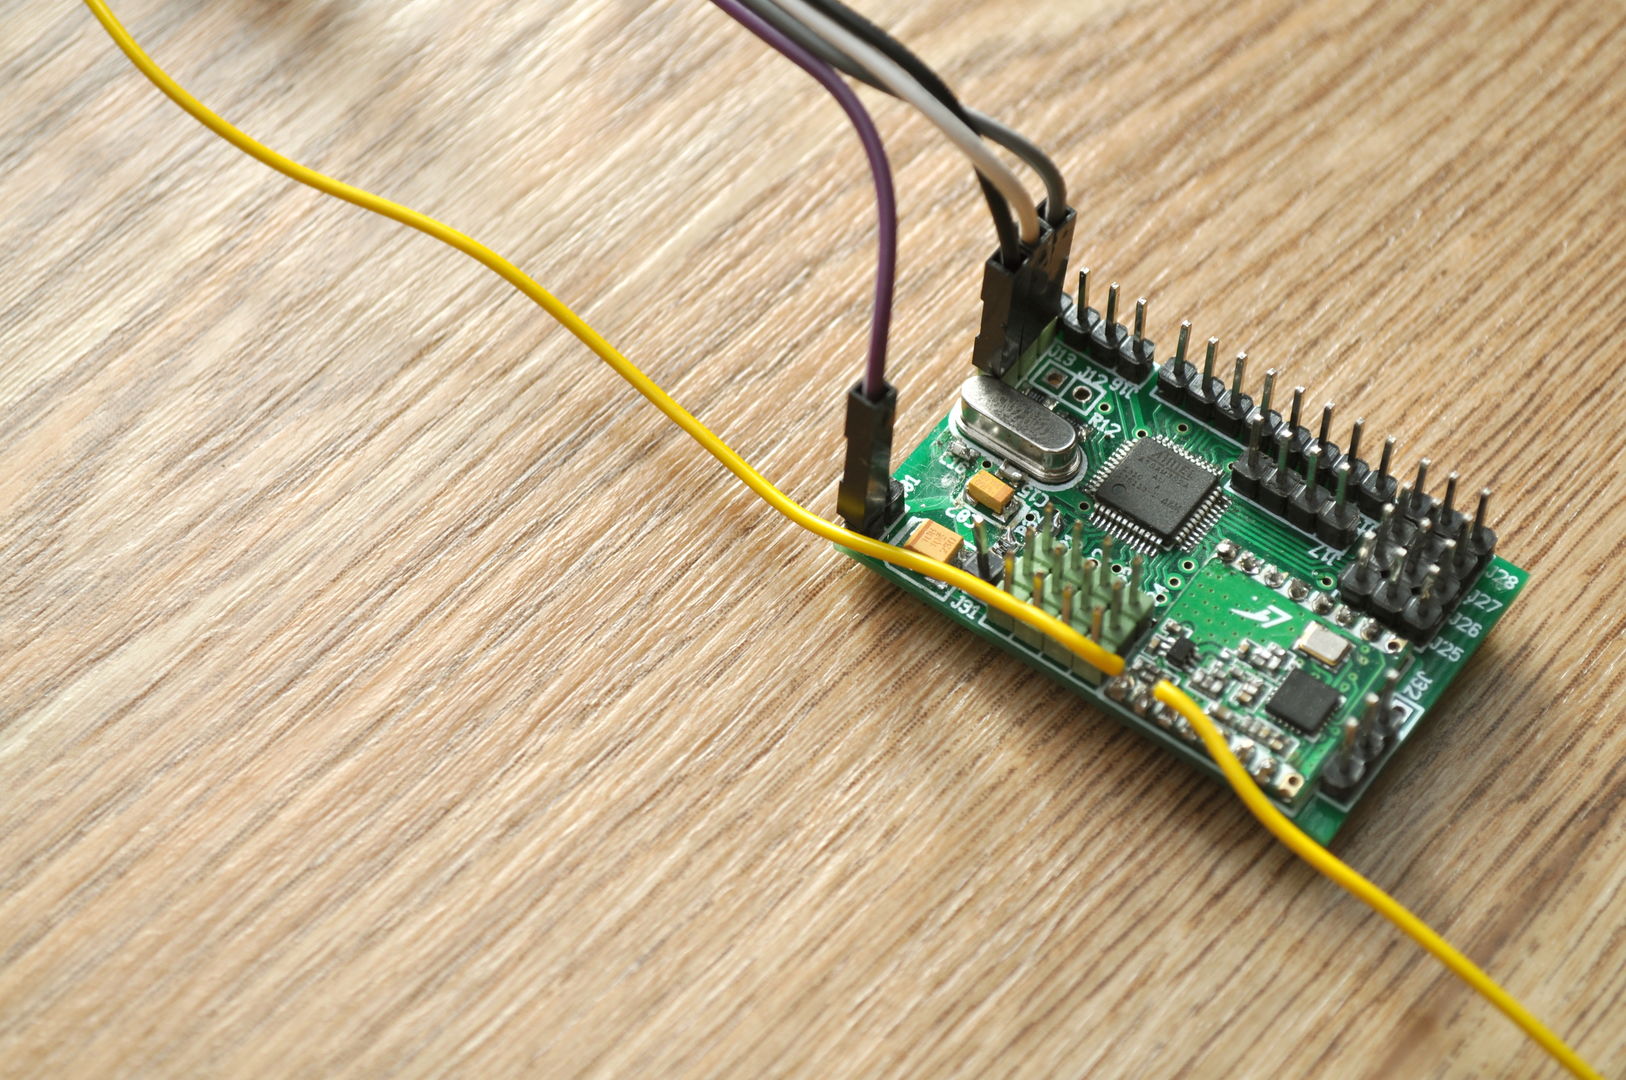
Then everything has to be delicately fitted into the plane itself.
Here you can see the stabilisation working.
I spent an afternoon learning to fly the plane on a local airfield. The video at the top of this story shows me controlling the plane manually. As you saw, it was difficult to keep the plane level and on a steady course.
After several successful flights, and some minor crashes, it was time to try turning on the stabilisation. I was apprehensive, since a small bug in the programming might cause the plane to crash spectacularly.
As it turns out, my fears were unfounded.
The plane was much easier to fly with stabilisation engaged.
The stabilisation algorithm needs a bit more work, but I now have a stable platform to which I can add features. I next want to try adding a GPS to the plane, and programming it to fly along a track of waypoints by itself.
Stay in touch
This article uses Story Glass, a new way of telling visual stories. If you would like updates about the UAV project and/or Story Glass, please enter your email address below.